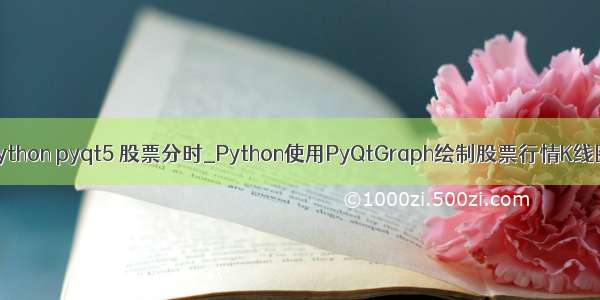
![[pyqtgraph]使用python的pyqtgraph库绘制一个3D图 3张图片按层叠加](https://1000zi.500zi.com/uploadfile/img/15/260/535b664d7f4ac3a46dd9c2a00c20719a.jpg)
1.首先必找三张尺寸大小一致的图片
# -*- coding: utf-8 -*-"""Use GLImageItem to display image data on rectangular planes.In this example, the image data is sampled from a volume and the image planesplaced as if they slice through the volume."""import pyqtgraph.opengl as glimport pyqtgraph as pgimport cv2app = pg.mkQApp("GLImageItem Example")w = gl.GLViewWidget()w.opts['distance'] = 200w.show()w.setWindowTitle('pyqtgraph example: ImageItem')## create volume data set to slice three images fromshape = (400, 400, 4) # shape大小为此时传入图片的大小,因此传入图片的大小必须一致def transform(file_path):image = cv2.imread(file_path)# 将3通道的图片转为4通道image = cv2.cvtColor(image, cv2.COLOR_BGR2RGBA)return image# 3张图片大小必须保持一致image_path1 = "../Image/image_01.jpeg"image_path2 = "../Image/image_02.jpeg"image_path3 = "../Image/image_03.jpeg"# image为ndarray类型image1 = transform(image_path1)image2 = transform(image_path2)image3 = transform(image_path3)levels = (-0.08, 0.08)tex1 = image1 # yz planetex2 = image2 # xz planetex3 = image3 # xy plane# Create three image items from textures, add to view# 从负方向,分三个刻度,每个刻度一张图片# 从纹理创建三个图像项,添加到视图v1 = gl.GLImageItem(tex1)v1.translate(-shape[0] / 2, -shape[2] / 2, 0) # 第1张# v1.rotate(90, 0, 0, 1)# v1.rotate(-90, 0, 1, 0)w.addItem(v1)v2 = gl.GLImageItem(tex2)v2.translate(-shape[0] / 2, -shape[2] / 2, -400) # 第3张# v2.rotate(-90, 1, 0, 0)w.addItem(v2)# 第三轴Z轴v3 = gl.GLImageItem(tex3)v3.translate(-shape[0] / 2, -shape[2] / 2, -200) # 第2张w.addItem(v3)ax = gl.GLAxisItem()w.addItem(ax)if __name__ == '__main__':pg.exec()
2.运行结果如图:
改进后的v1.0版本:
import osimport pyqtgraph.opengl as glimport pyqtgraph as pgimport cv2app = pg.mkQApp("GLImageItem Example")w = gl.GLViewWidget()w.opts['distance'] = 200w.show()w.setWindowTitle('pyqtgraph example: ImageItem')# 读取函数,用来读取文件夹中的所有图片,输入参数是文件名def read_directory(directory_name):PictureList = []for filename in os.listdir(directory_name):img_path = directory_name + "\\" + filename# image为ndarray类型image = cv2.imread(img_path)# 将3通道的图片转为4通道image = cv2.cvtColor(image, cv2.COLOR_BGR2RGBA)PictureList.append(image)return PictureList# 所有图片大小必须保持一致directory_name = "D:\\code\\gitee\\PictureOverlay\\Image"pictureList = read_directory(directory_name)shape = pictureList[0].shape # shape大小为此时传入图片的大小,因此传入图片的大小必须一致levels = (-0.08, 0.08)scale = 0 # 设置起始刻度for i in range(len(pictureList)):image = pictureList[i]# Create three image items from textures, add to view# 从负方向,分三个刻度,每个刻度一张图片v1 = gl.GLImageItem(image)v1.translate(-shape[0] / 2, -shape[2] / 2, -scale) # 向负方向w.addItem(v1)scale += 20#每张图片高度间隔10ax = gl.GLAxisItem()w.addItem(ax)if __name__ == '__main__':pg.exec()
一个文件夹下30几张图片,运行结果如图: